
Wall Cutting in North York — CMU Wall Height Correction & Flush Sill Cuts
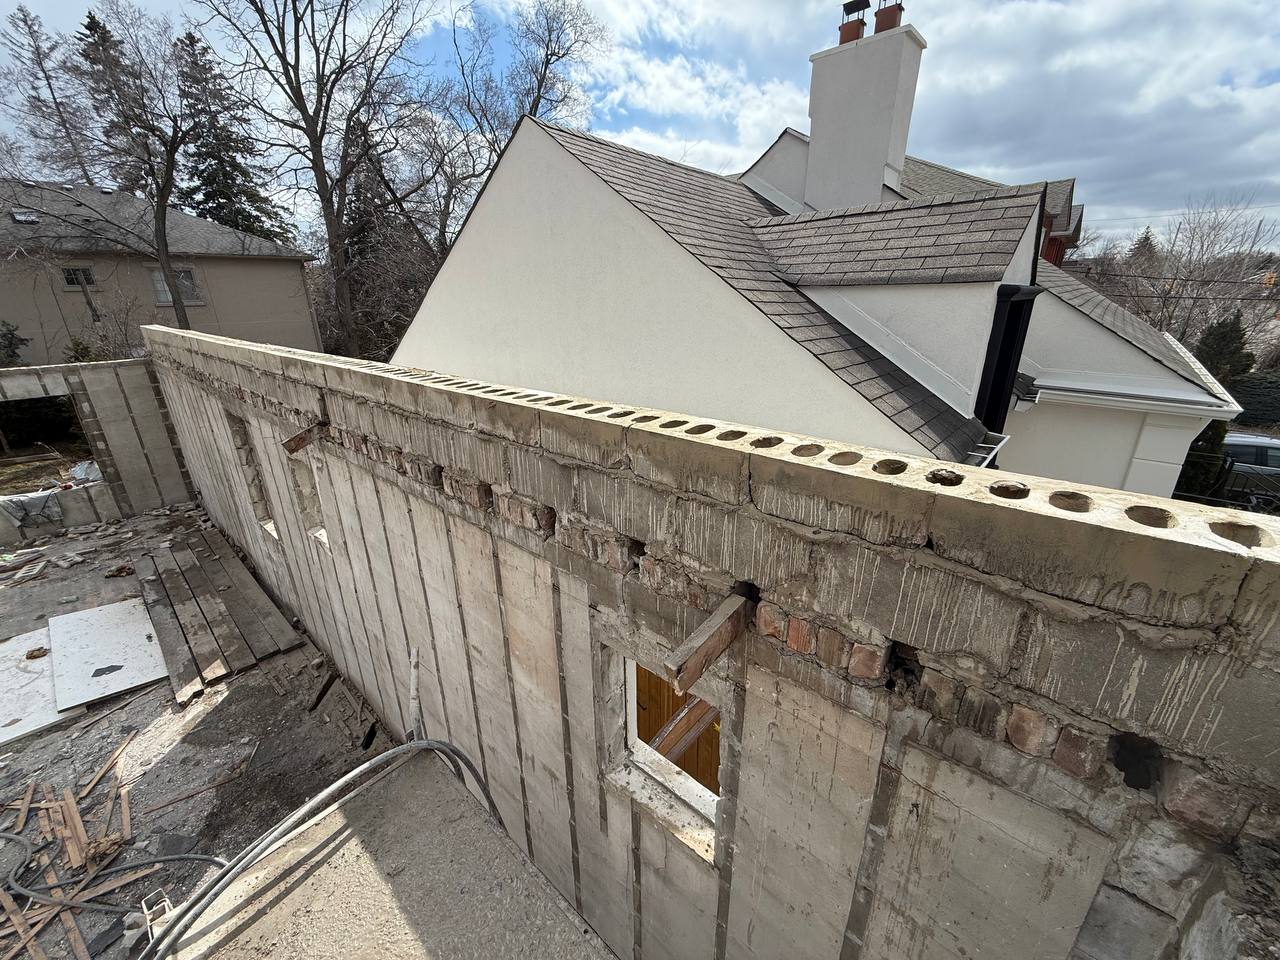
Project snapshot
- Location: North York, ON
- Service: Wall cutting (CMU wall height correction) + flush sill cuts + debris haul-out
- Walls: Two side walls only — 197 LF total (≈ 60 m)
- Wall thickness: 8" CMU + top bond beam (no reinforced ring beam)
- Target elevation: 13 ft from basement floor level
- Time on task: 4 full days
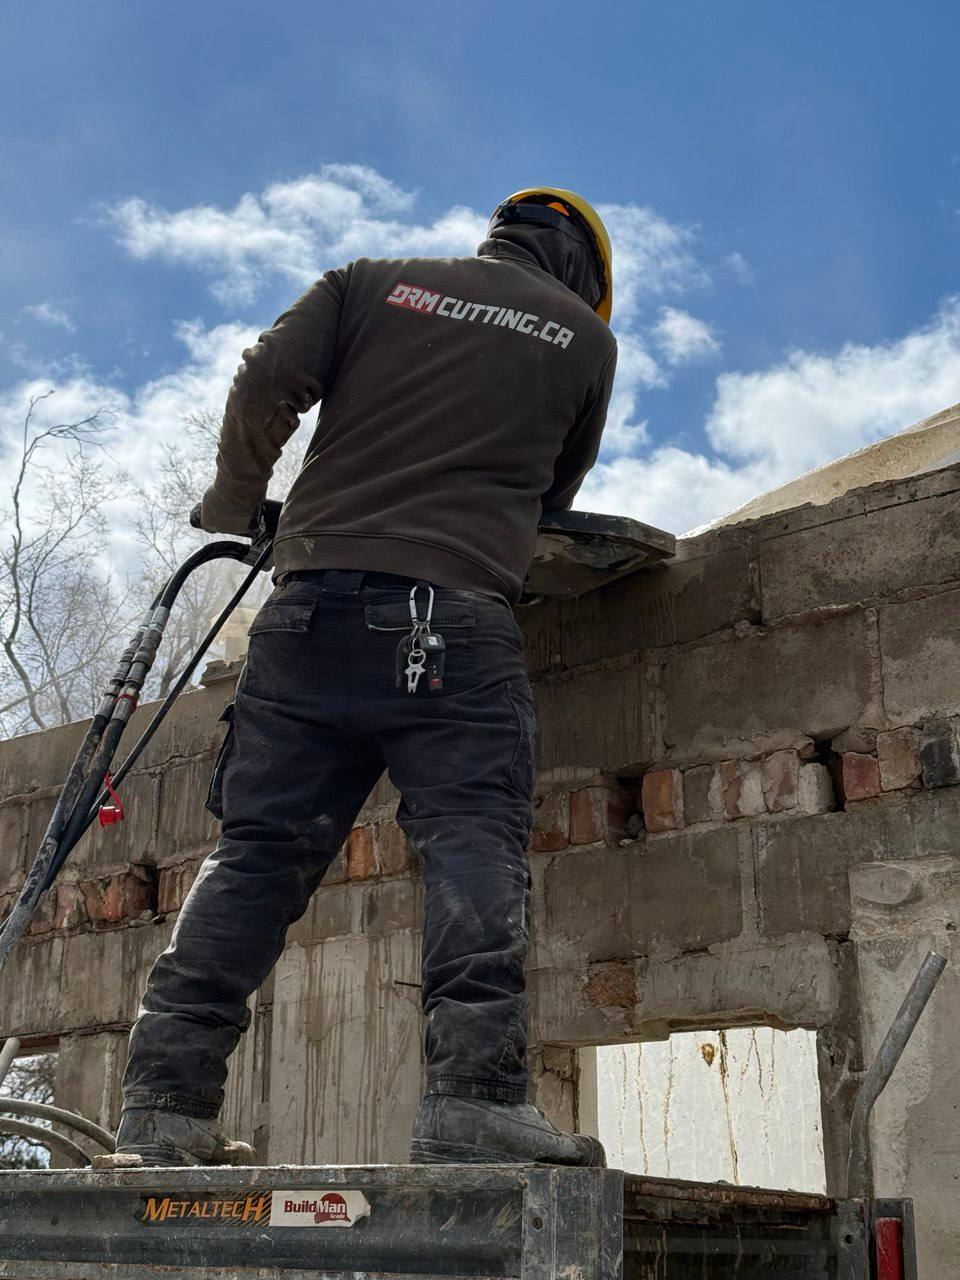
- Method: Handheld hydraulic cut-off saw, 24" blade, controlled wet cutting
Project overview
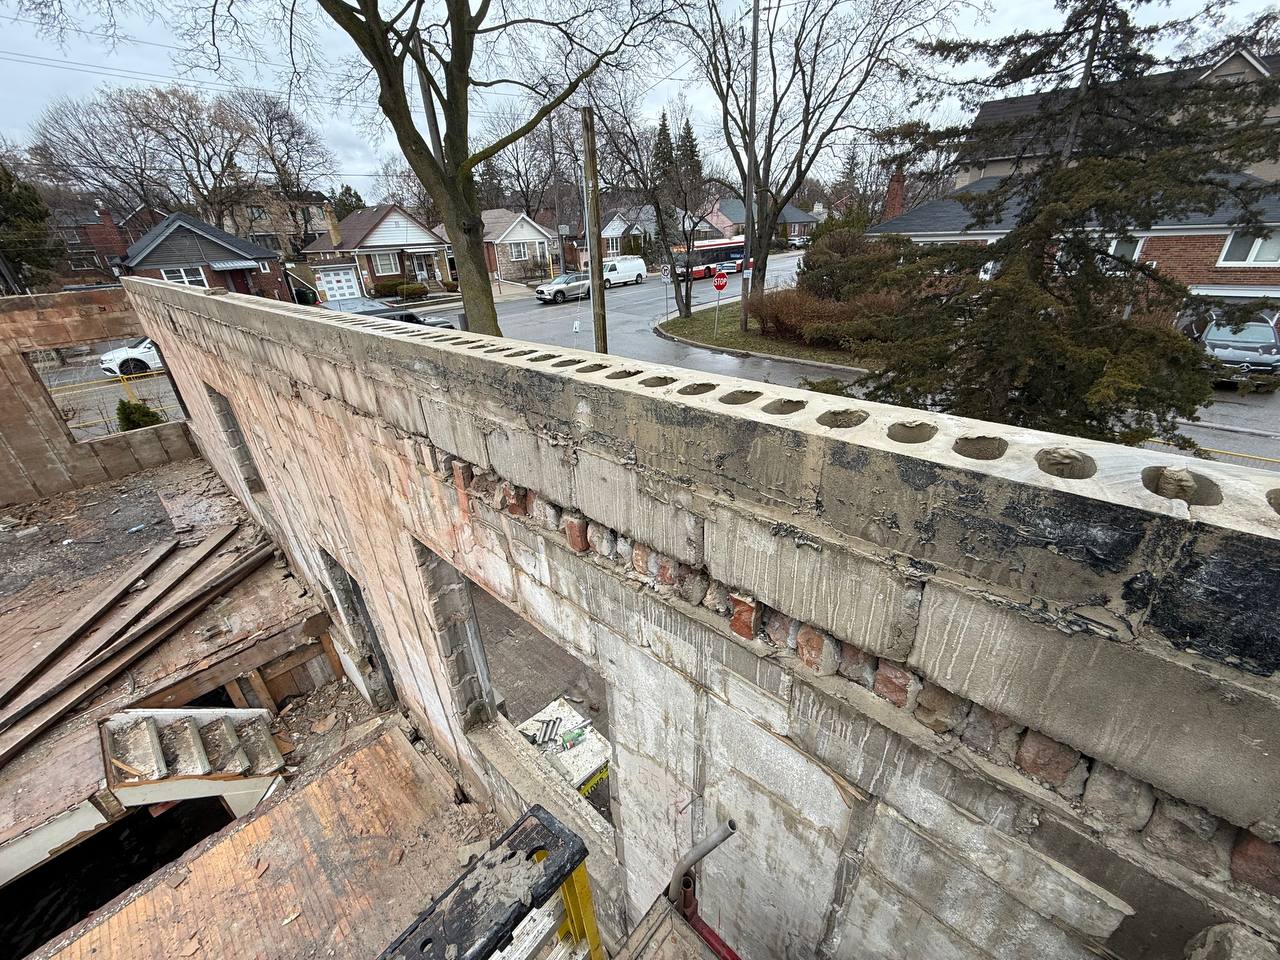
This was a structural renovation in North York where the rebuild required a clean, uniform wall elevation and nothing protruding from the exterior face. Our scope was focused: wall cutting on the two side CMU walls to a consistent elevation, plus flush cuts on exterior window sills/ledges so the next trades could frame and tie-in cleanly.
The challenges
Wall cutting here wasn’t about speed—it was about control:
- Stability risk after demolition phases: the remaining wall sections needed temporary restraint so they wouldn’t rack inward or move under wind/load changes.
- Clean elevation transfer: the top cut had to land at a consistent 13 ft reference from the basement floor, not “close enough.”
- Water management: wet cutting was required, but water volume had to be controlled so the site didn’t turn into a slurry mess.
Our work
1) Temporary bracing (engineer-guided)
After the GC’s engineer reviewed the conditions with our team, we installed temporary braces and kickers to keep the walls stable during cutting and removal.
2) Wall cutting — height correction
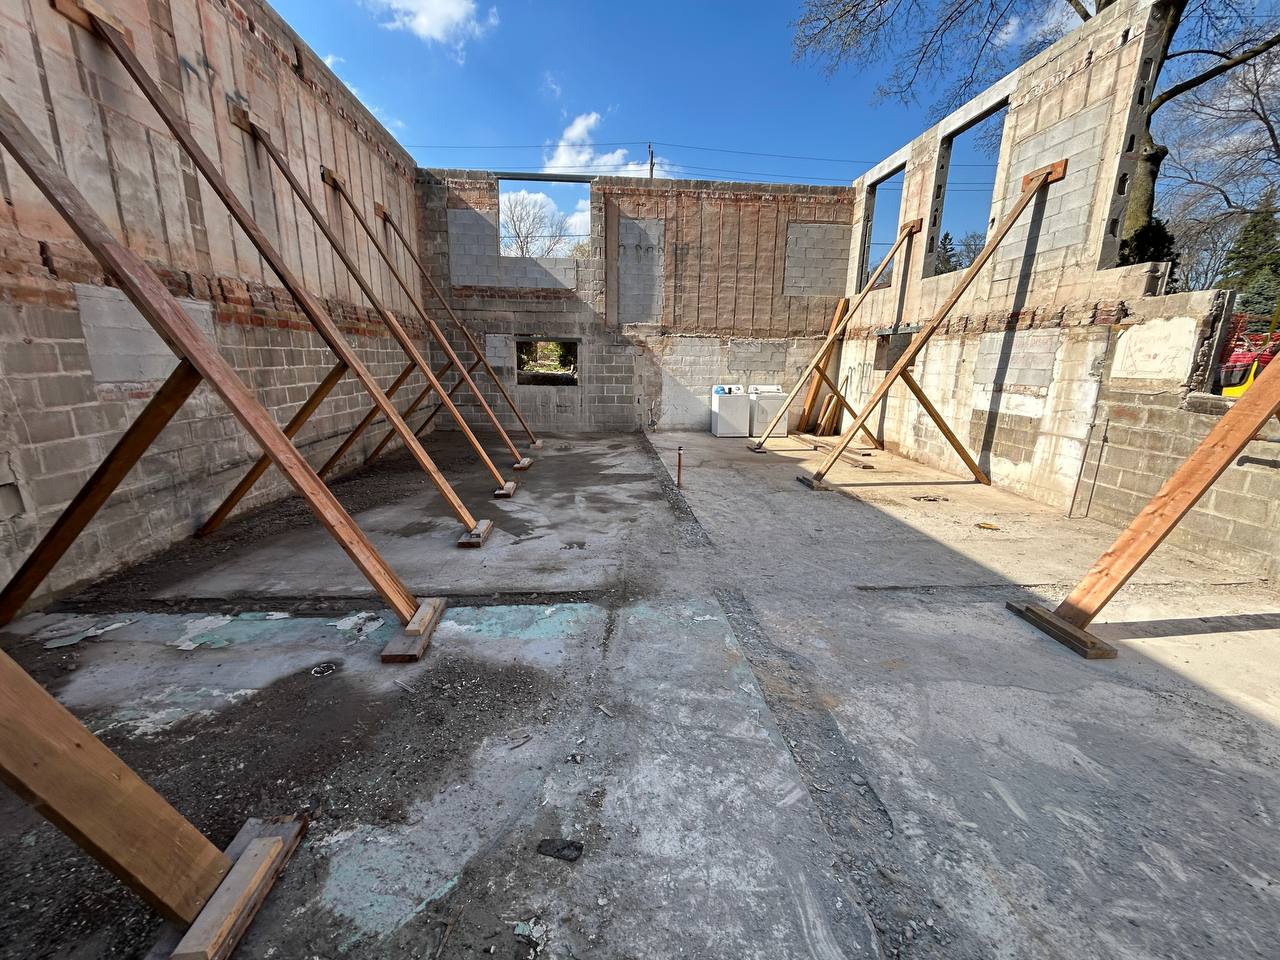
- Marked a level, continuous cut line for the two side walls.
- Removed the top bond beam and brought both walls down to the target elevation.
- Equipment: handheld hydraulic cut-off saw with a 24" diamond blade.
- Water: small tank + hand-controlled feed—just enough to keep the blade cooled and cutting clean.
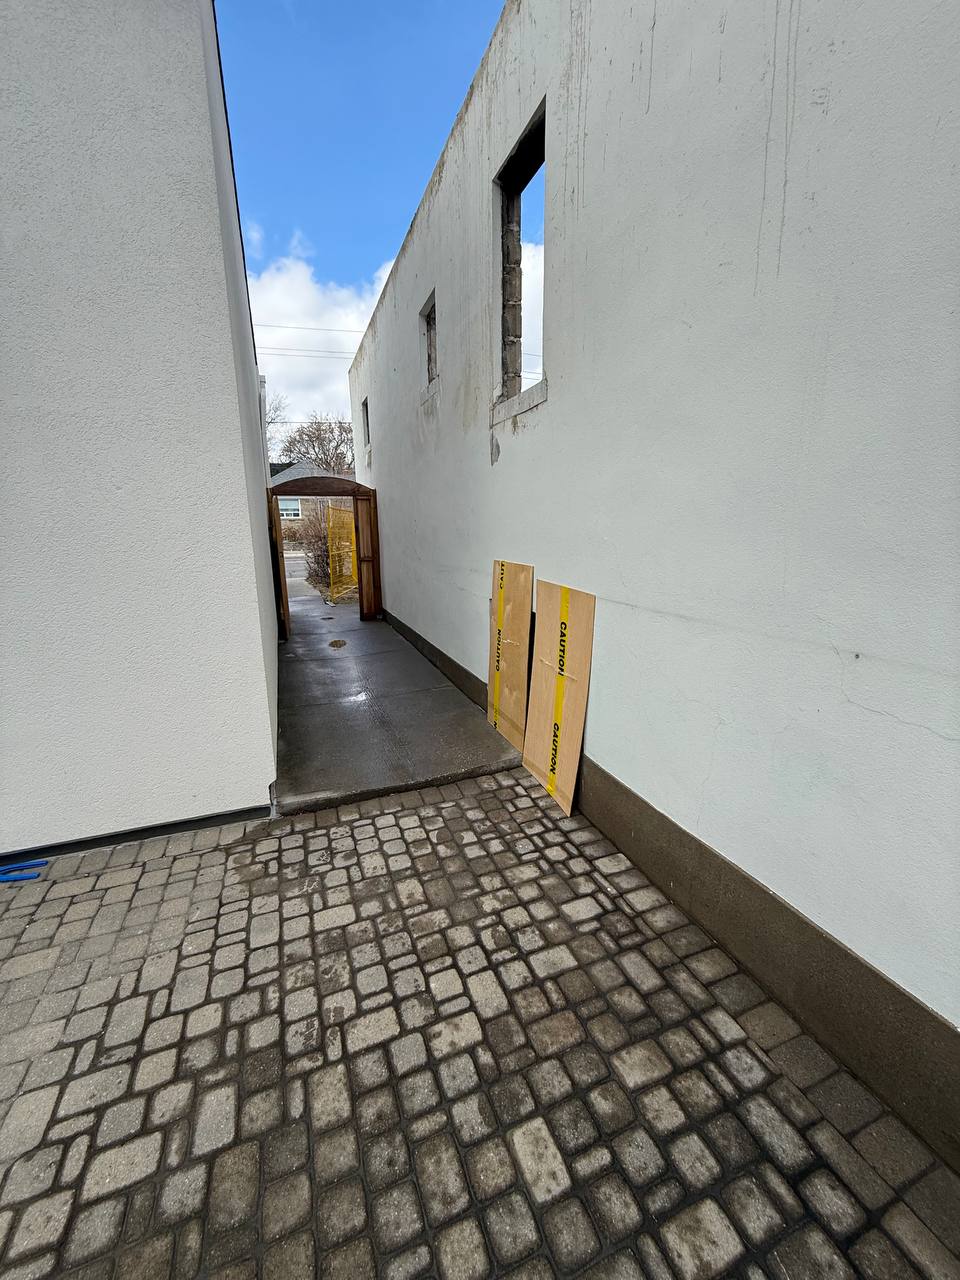
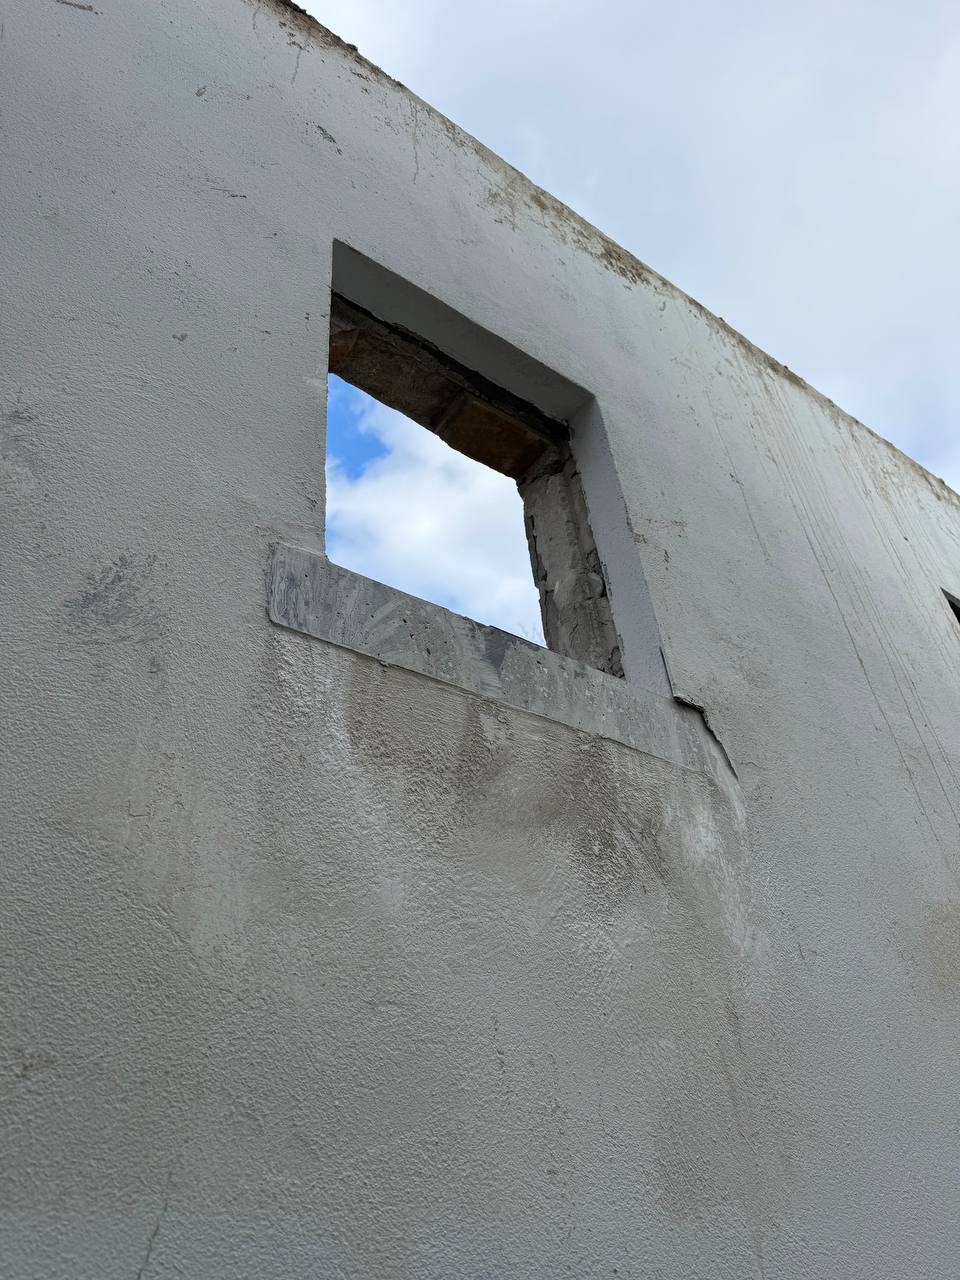
3) Flush cuts on exterior window sills (≈ 6 windows)
We cut back the exterior sill/ledge projections so the outside face was clean and ready for reconstruction detailing.
4) Slurry and site cleanliness
We protected the exterior from overspray (simple physical shielding), then pressure-washed the area at the end so the site was ready for the next sequence.
5) Lowering, load-out, disposal
Cut sections were lowered and loaded into bins, then hauled out for disposal/recycling as required.
Result
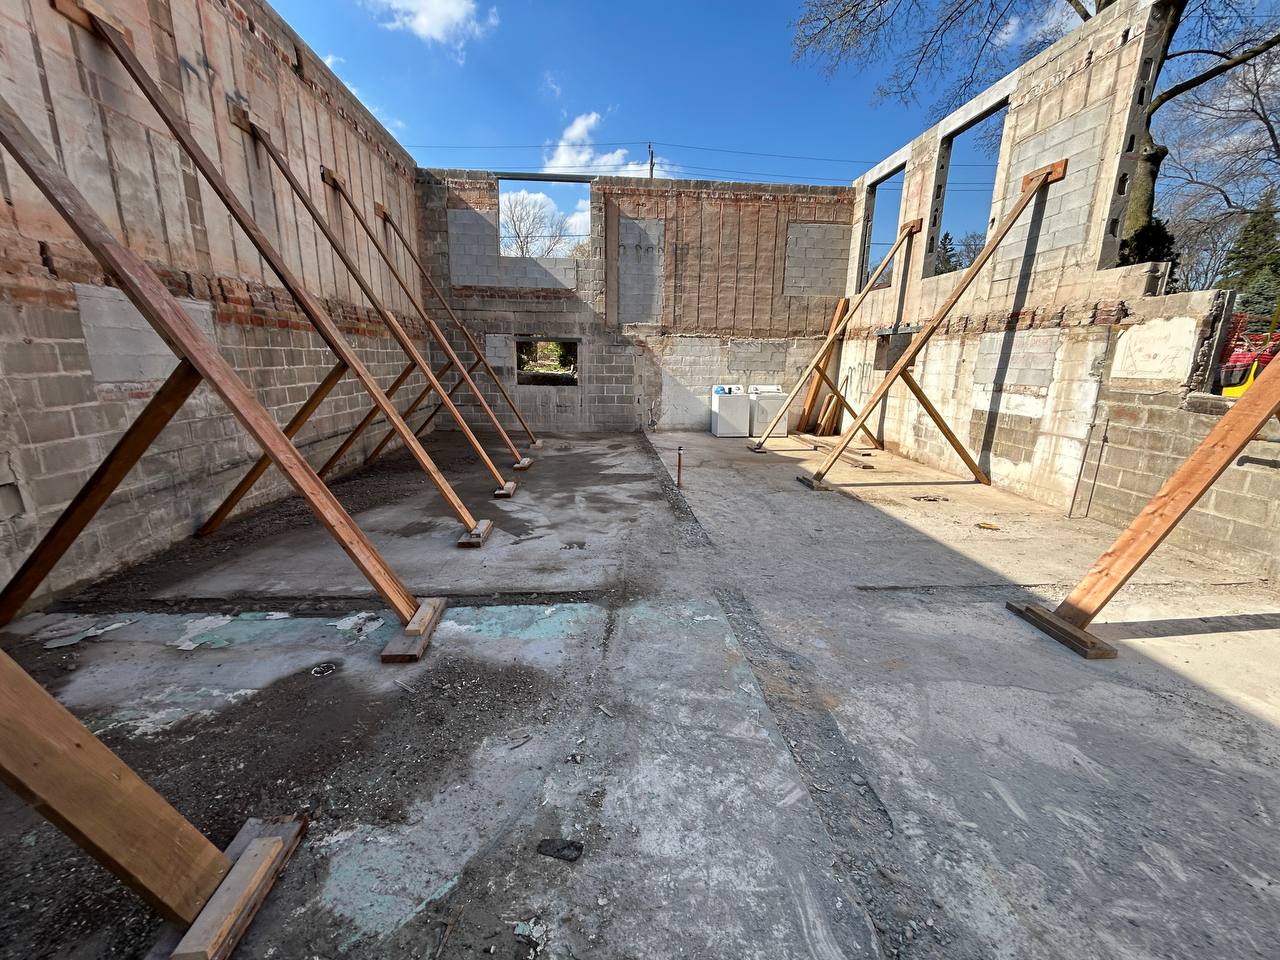
In 4 days, we completed 197 LF of wall cutting on 8" CMU side walls—bringing the structure to a clean, uniform 13 ft elevation, removing the bond beam, and flushing exterior sill projections so the reconstruction crew could move forward without rework.
Wall Cutting (CMU Walls)
What builders and homeowners ask before wall height correction and flush cuts.