
End-to-End Concrete Removal After Cutting: From Sectioning to Haul-Out to Disposal—What PMs Must Validate
Concrete cutting is the visible part of the scope. Controlled concrete removal is what decides whether the job is clean, safe, and “inspection-ready” — or becomes a re-handling problem that burns labor and delays the next trade.
For PMs managing live facilities (plants, banks, airports, mechanical rooms, active commercial units), the success criteria usually looks like this:
- No stuck sections (everything lifts and exits through real bottlenecks)
- No slip hazards (slurry is controlled, walkways stay usable)
- No damage (surfaces, routes, and adjacent assets protected)
- No surprises for safety (PPE, cords, access control, housekeeping)
- No disposal issues (loads accepted, receipts available if needed)
This guide breaks down the end-to-end workflow — from sectioning to haul-out to disposal — and lists what PMs must validate before mobilization.
1) The PM “Break Points” That Decide the Whole Plan
In the field, schedules don’t collapse because “the saw was slow.” They collapse because removal logistics weren’t validated.
The three break points we see most often:
1) Door width (frames included)
Corridors are often wider than you think. Doors are the bottleneck.
A 36" door with a frame can dictate:
- what equipment can enter,
- what size sections can exit,
- and whether you’re cutting into liftable blocks or hand-carry pieces.
2) Elevator capacity and elevator reality
Even when a freight elevator exists:
- capacity can limit you to a few hundred kilograms,
- the elevator may not land where you need it,
- and you may still face manual carry corridors or stairs to reach a mechanical room.
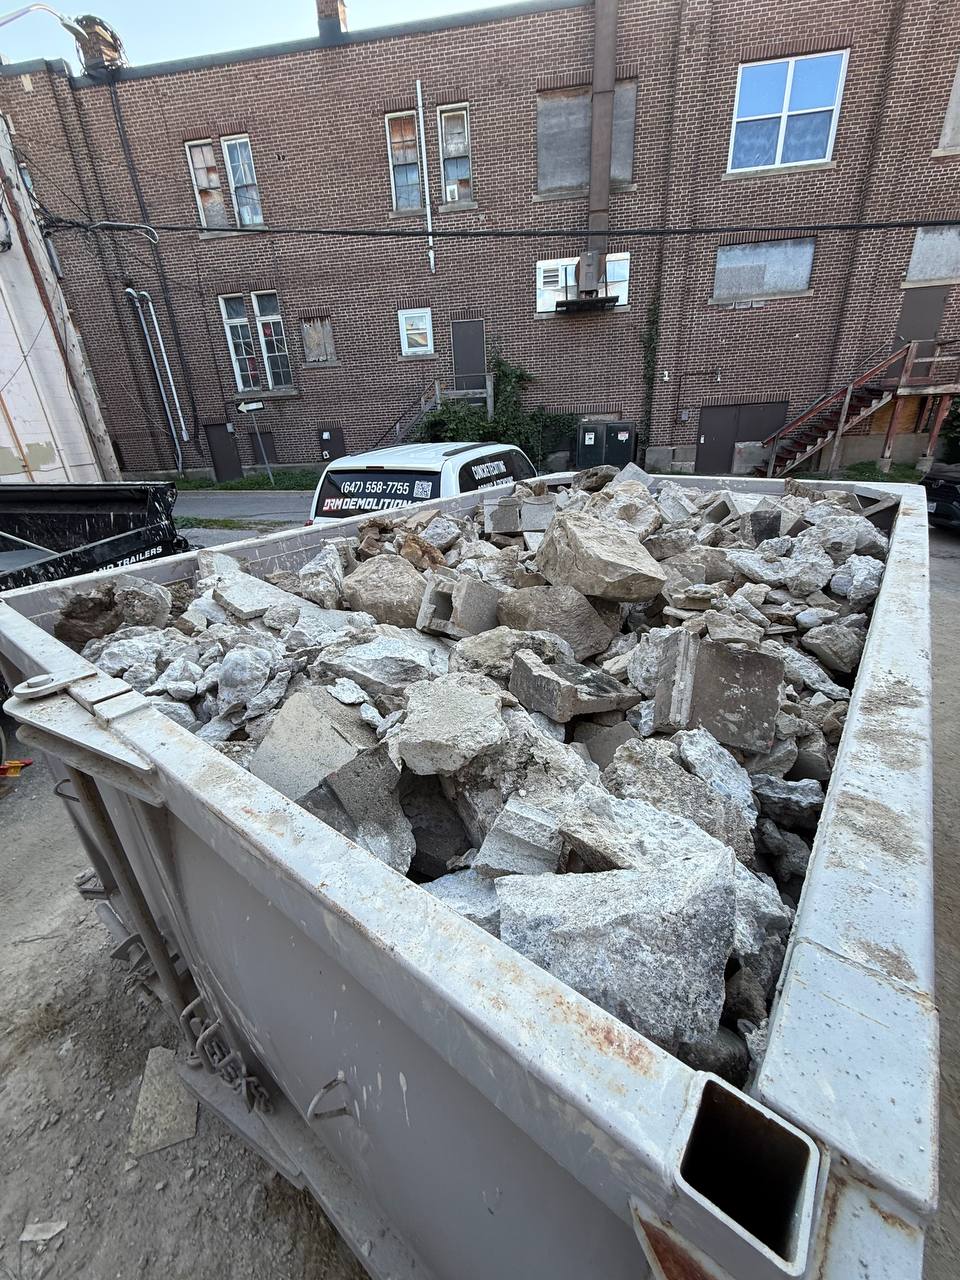
3) Bin placement (distance-to-door kills productivity)
If the bin can’t be placed close to the exit:
- your removal becomes long internal hauling,
- re-handling increases,
- and housekeeping effort multiplies.
Rule: If you validate only “cutting,” you haven’t validated the job.
2) What “Inspection-Ready” Means in Real Terms
On indoor jobs, acceptance typically comes from the GC/superintendent and often gets scrutinized by a safety officer. “Failure” is rarely technical cutting quality — it’s the basics:
- Damage: scuffed finishes, broken edges, impacted doors/frames, cable damage
- Housekeeping: concrete left behind, slurry trails, blocked walkways/egress
- Safety compliance: PPE visible, cords in good condition (no damaged or taped repairs), controlled access and signage
- Scope compliance: cut lines/sections not matching the plan, incomplete removals
Even if you’ve never had a “failure,” this checklist is how you prevent the situations that create one.
3) The Math That Drives Sectioning, Haul-Out, and Safety
Fast weight math (what PMs should demand up front)
For planning, concrete is typically estimated around 2,400–2,500 kg/m³ (about 150–156 lb/ft³). We use volume × density and do not rely on “guessing by feel.”
Weight (lb) ≈ Volume (ft³) × 150
Weight (kg) ≈ Volume (m³) × 2400–2500
Useful anchor:
1 cubic yard of concrete ≈ 4,050 lb (≈ 1,840 kg)
(27 ft³ × 150 lb/ft³)
Example: the “common heavy block”
A 2 ft × 2 ft × 3 ft section = 12 ft³
Estimated weight:
- ~12 × 150 = 1,800 lb (≈ 820 kg)
This is already beyond what many “tight-access” elevators and manual routes can tolerate.
PM takeaway: A segmentation plan is not valid until every section has a weight logic tied to the lifting and route constraints.
4) Segment Size Is Not a Preference — It’s a Constraint Envelope
We size sections based on how they will be moved, not how they look on drawings.
A) Manual haul-out (tight stairs / narrow steel ladders / long corridors)
When machines cannot be used and access is constrained, the plan shifts to hand-carry logic:
- typical manageable pieces: 20–30 kg per piece (especially when stairs are involved)
- removal method: buckets, hand carts, controlled carry, frequent housekeeping
This is common for trenching and small removals where the route is simply not machine-friendly.
B) Pallet jack / dollies (flat route, reasonable thresholds)
If the route allows rolling loads:
- typical practical indoor sections often land around 300–750 kg, depending on floor condition, slope, thresholds, and route length
- the risk is not only weight — it’s control and stopping distance
C) Mini skid steer / compact loader (best productivity when allowed)
If floor capacity and access permit:
- fewer cuts,
- faster staging,
- faster load-out,
- less fatigue cost.
D) Hoists and overhead cranes (when available)
Mechanical rooms and industrial spaces sometimes include overhead lifting. You may see labels like:
- ~3,000 lb hoist capacity
- ~5,000 lb beam/runway capacity
PM must verify: rated capacity, hook access, travel path, and whether lifting is permitted operationally.
Rule: Your lifting method sets your max section weight. Your access route sets your max section dimensions.
5) End-to-End Workflow: From Sectioning to Disposal
Here’s the controlled removal system PMs should expect to see:
Step 1 — Validate the route
- narrowest door frame measurement
- elevator capacity + landing reality
- stair/corridor constraints
- staging space (inside + outside)
- bin/truck placement options
Step 2 — Lock the handling method
Pick what’s real:
- manual / carts
- pallet jack / dollies
- mini skid steer
- overhead lifting (if verified)
Step 3 — Engineer the segmentation grid
The grid must match:
- max weight per piece,
- max dimensions through the route,
- floor loading concerns (especially wood joists or sensitive elevated spaces),
- staging footprint.
Step 4 — Sequence to prevent re-handling
The best plan minimizes:
- “temporary stacks that block the route”
- “move it twice” handling
- back-tracking through occupied areas
A good sequence looks like:
cut → control → land → clear → stage/load → clean
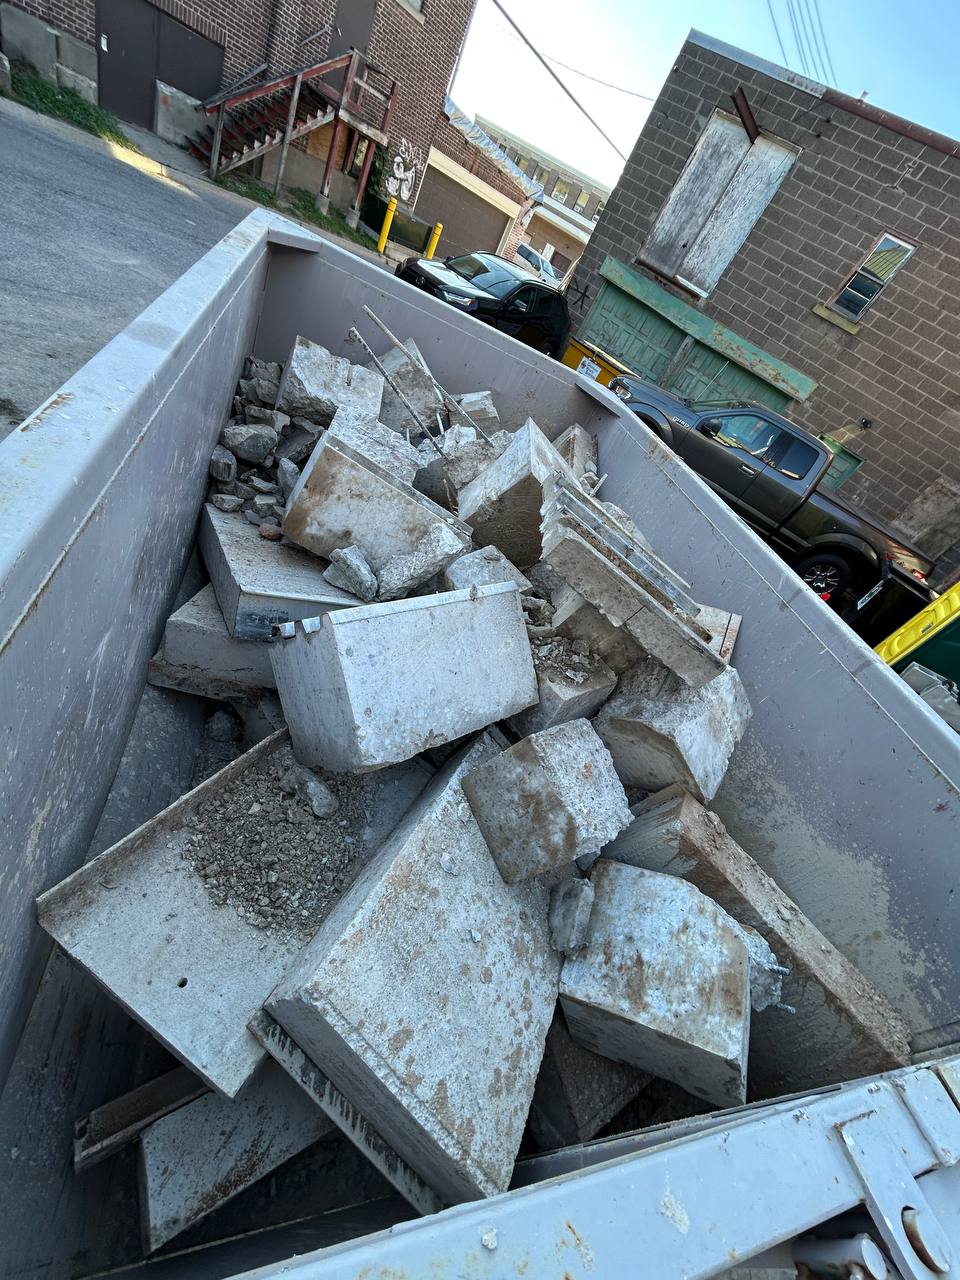
Step 5 — Load-out execution (bin/trailer/truck)
We select load-out based on volume and site constraints:
- Trailer: efficient for smaller scopes and controlled scheduling
- Bin: best for larger volumes where on-site staging and continuous loading is needed
- Truck: used on larger logistics-ready sites (space, access, equipment, and traffic control required)
PM validation: distance-to-door, loading rhythm, traffic and access control.
Step 6 — Disposal / recycling validation
We typically dispose as mixed concrete with embedded rebar (no on-site separation, no on-site crushing). PM should validate:
- receiving facility acceptance for mixed loads
- moisture/slurry handling expectations (what can/can’t go in drains)
- whether disposal receipts are required for closeout
If needed, we can provide recycling/disposal receipts from the facility (most sites don’t request them, but it’s available when required).
6) Slurry and Housekeeping: The Fastest Way to Pass or Fail
On indoor work, slurry is not just a cleanup task — it is a safety and inspection factor.
PM checklist:
- keep walkways clear and dry as much as possible
- control slip hazards with active housekeeping
- manage cords and connections away from wet zones
- confirm drain rules (never assume)
- plan for buckets/containers if solids must be removed offsite
If the facility requires strict housekeeping (finished areas, active tenants, sensitive equipment), plan containment and protection up front (routes, barriers, floor protection). If it’s early-stage renovation, requirements may be lighter — but the removal system still must be controlled.
7) Case Snapshots (Logistics-Proof Examples)
Case #1 — Mechanical Room Foundations: Sectioning Built for Lift + Route
- Scope: 3 equipment foundations
- Thickness: 24 inches (2 ft)
- Segmentation: 4 blocks per foundation, each approx. 2×2×3 ft
- Total: 12 blocks
- Why it worked: section weights were engineered to match lifting and removal constraints, with low vibration priority.
Case #2 — 100 Jameson Avenue (Toronto): When Staging and Access Dictate 3×3 Sections
- Pattern: heavy slab removal where direct “cut-and-load” at the cut face was not feasible
- Solution: 3×3 ft sections that could be relocated and staged closer to the optimal load-out point
- Why it matters: the grid was dictated by access/staging reality, not by “maximum possible size.”
Case #3 — Retail Overnight Trenching: Deliver “Ready Floor” by Opening
- Pattern: work after close, operations resume at opening
- Validation focus: route cleanliness, fast haul-out, controlled debris handling, and closeout readiness.
8) PM Validation Checklist (Copy/Paste)
Access
Handling
Load-out
Housekeeping
Disposal
Controlled Concrete Removal & Haul-Out Planning
Search-intent answers for PMs validating sectioning, access, bin placement, haul routes, and disposal after concrete cutting in the GTA.